To build Tekisasu Graphics, our internal version of Aseprite, we will use the prefabricated Tekisasu TC Build Environment. It has all software within the toolchain in source code format along with all dependencies and modifications made by Tekisasu. Currently, builds target Windows 11. While Tekisasu does not publicly make available Tekisasu Graphics, we do make our build instructions as public as possible.
Build Requirements:
- Windows 11 64-bit
- Visual Studio 2022
- CMake
- Ninja
- Tekisasu TCBE (Toolchain Build Environment)
Note: these instructions assume that you have downloaded the latest TCBE and have installed it in M:\tekisasu-toolchain
1) Prereq Software Setup
First, install the latest version of Visual Studio 2019. Make sure that you also installed the C++ install group’s option for the Windows SDK.
Second, make sure that CMake is installed and you toggle the option for setting the PATH for all users.
Third, make sure that the Ninja binary from the TCBE is copied over to the CMake bin directory in C:\Program Files\
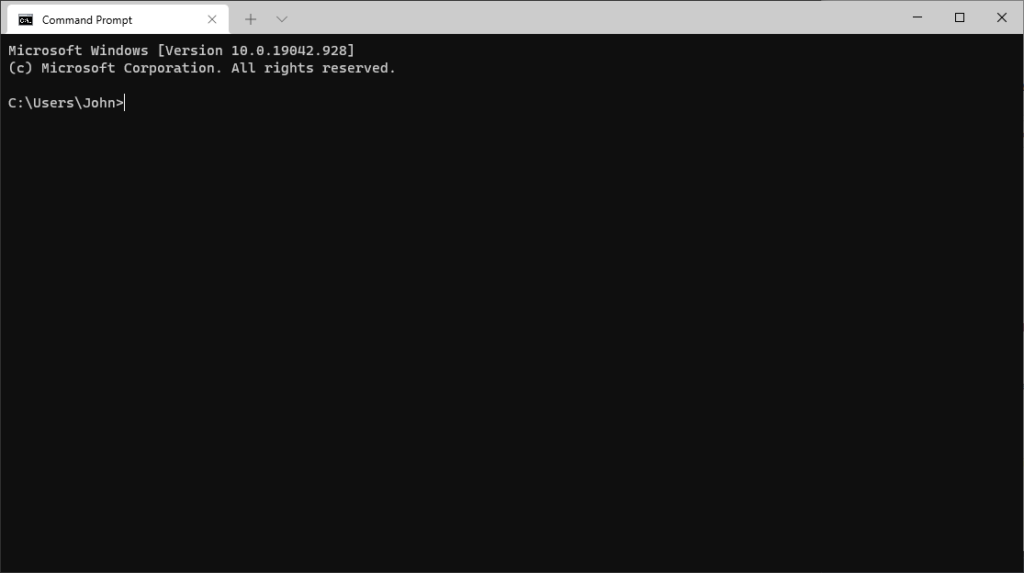
2) Open a Command Prompt
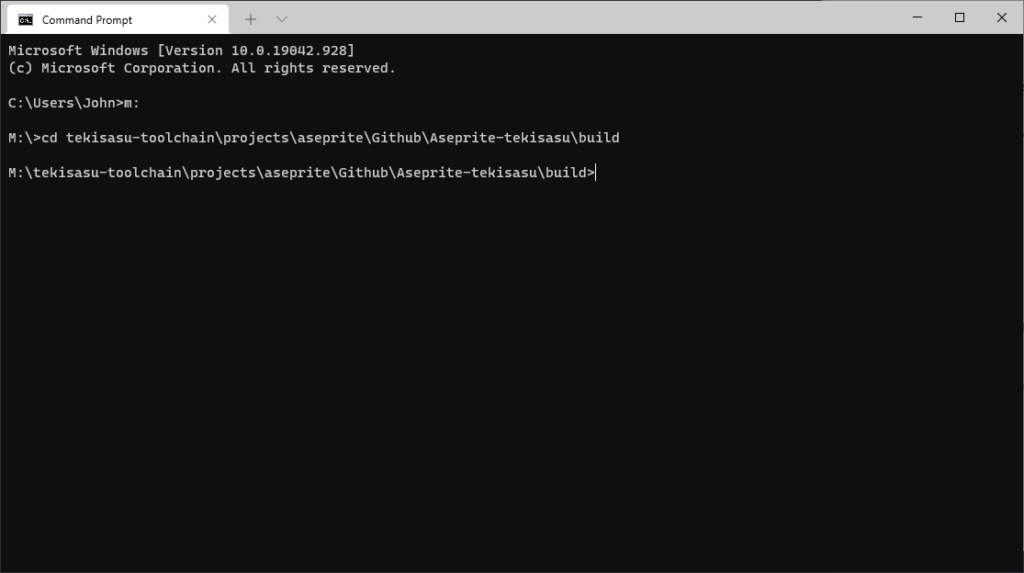
3) Navigate to Aseprite build folder
If your TCBE is installed in M:\, then navigate to M:\tekisasu-toolchain\projects\aseprite\Github\Aseprite-tekisasu\build. Please keep the TCBE installation in a drive’s root folder (i.e. D:\tekisasu-toolchain, E:\tekisasu-toolchain, etc).
m:
cd tekisasu-toolchain\projects\aseprite\Github\Aseprite-tekisasu\build
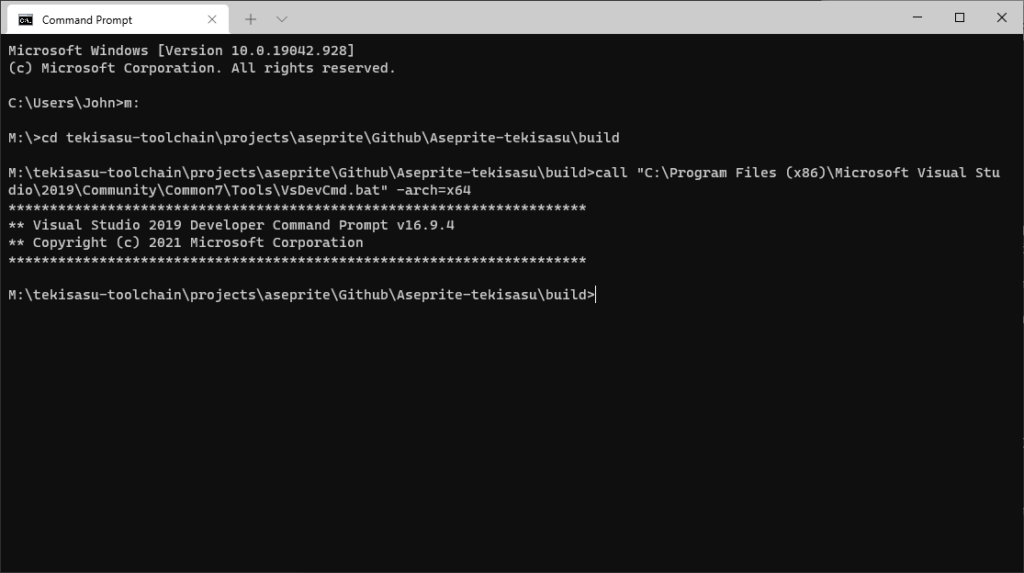
4) Get the VS2019 compiler ready
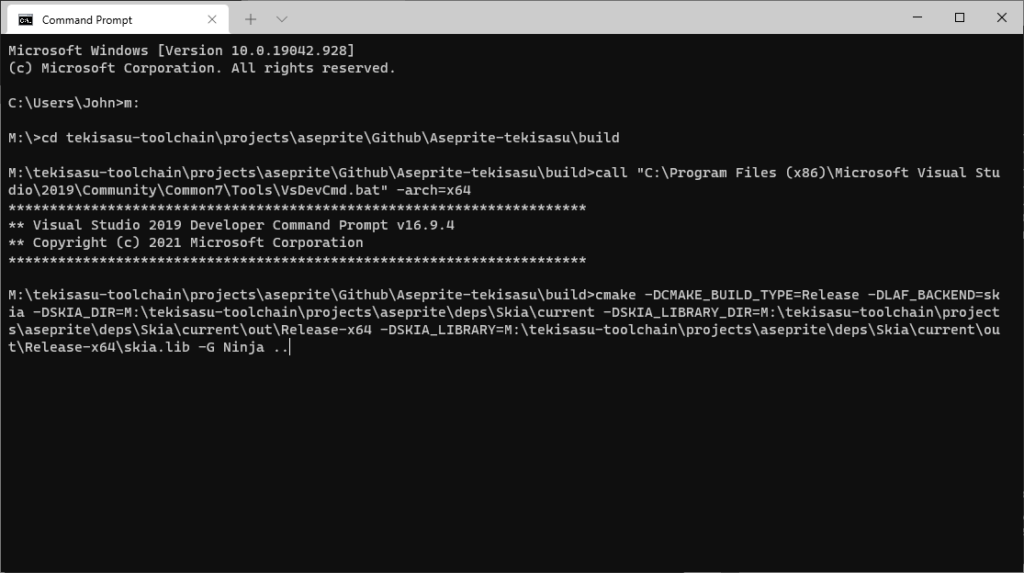
Before building Aseprite, we need to make sure our compiler environment is set up so that CMake and Ninja can properly build it out. To do this, we will call the VsDevCmd.bat script from Visual Studio 2019 and target the x64 (Intel/AMD x86_64) architecture.
call "C:\Program Files (x86)\Microsoft Visual Studio\2019\Community\Common7\Tools\VsDevCmd.bat" -arch=x64
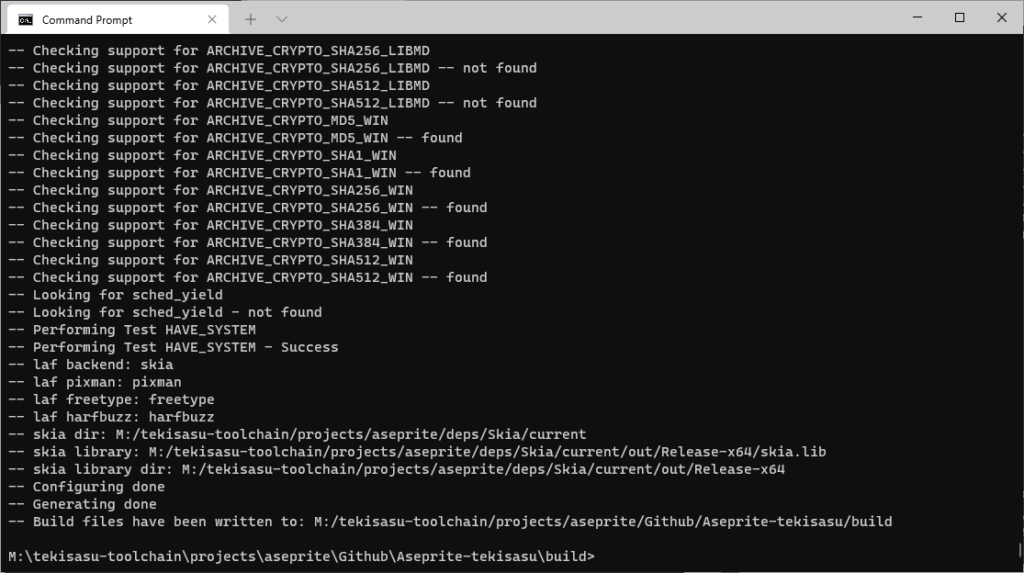
5) Run CMake targeting either Release or RelWithDebug
The installation of the Tekisasu TCBE is important to take note of because you will pass the location of an external library location to CMake during this step. Change the drive letter where appropriate and make sure TCBE is installed to a drive’s root directory.
cmake -DCMAKE_BUILD_TYPE=Release -DLAF_BACKEND=skia -DSKIA_DIR=M:\tekisasu-toolchain\projects\aseprite\deps\Skia\current -DSKIA_LIBRARY_DIR=M:\tekisasu-toolchain\projects\aseprite\deps\Skia\current\out\Release-x64 -DSKIA_LIBRARY=M:\tekisasu-toolchain\projects\aseprite\deps\Skia\current\out\Release-x64\skia.lib -G Ninja ..
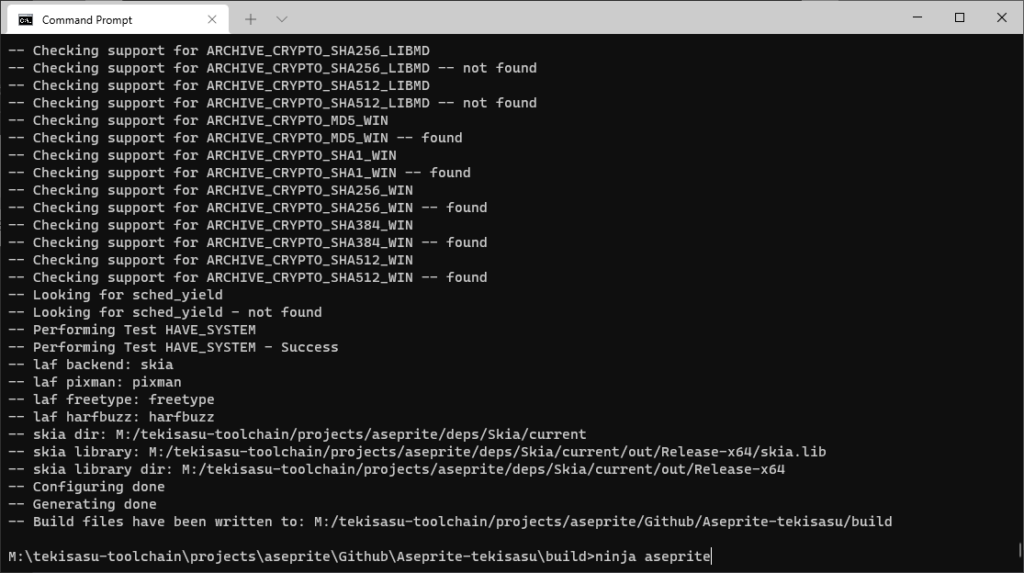
6) Run Ninja to build the project
Now, run the following to complete the build process:
ninja aseprite
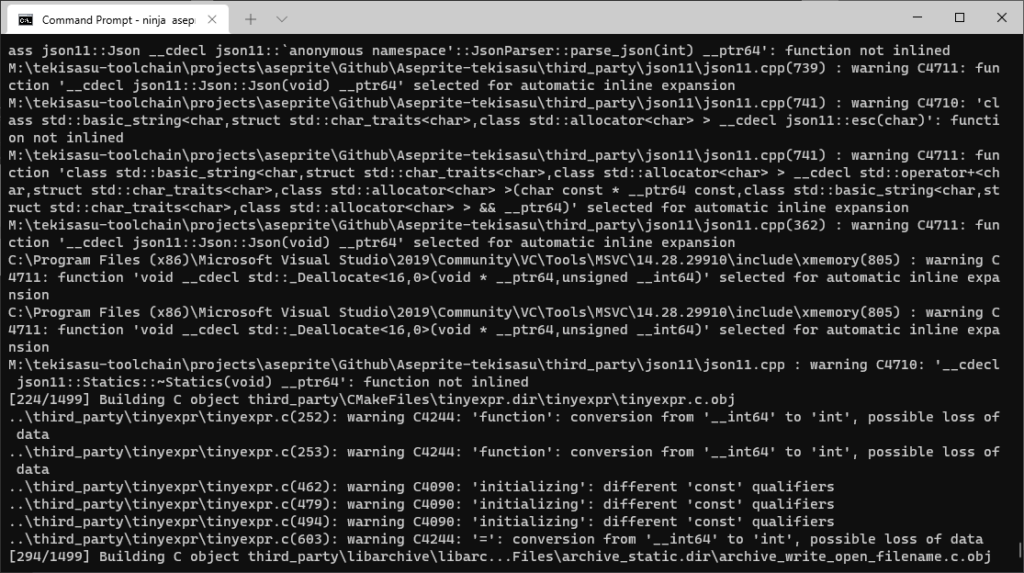
This process will generate quite a bit of output from the compiler as the program is built. This can be safely ignored unless an error prevents Ninja’s build process from completing.
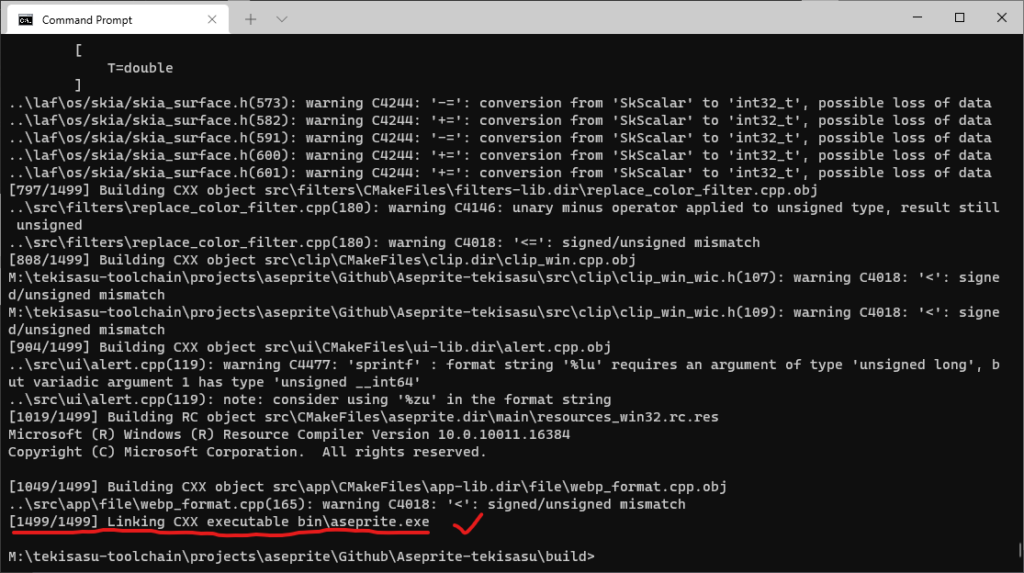
At the end of running Ninja, if you see that the aseprite.exe binary has successfully be created, then you are ready to package up Aseprite-tekisasu for testing or release.